Container gardening
is a gift for those of us who lack the choice of an actual outdoor garden. However, these container gardens present their own set of difficulties. As you fill up yourcontainers,
fresh, one-of-a-kind, and fashionable plant containers
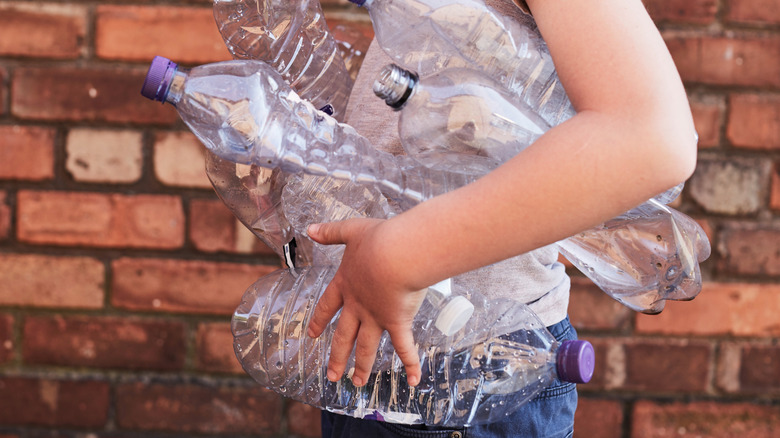
or flowerpots, it can seem like potting soil has the same value as those rare-earth minerals we hear so much about. Who knew that buying a bag of dirt was so expensive? To cut down on the amount of dirt per pot, savvy gardeners often fill the bottom of their new pots with something other than potting soil. Rocks are a common solution, and they work great, take up space, and help maintain proper drainage. That is, until you have to move the pot to a new location and find out just how heavy those rocks actually are. If only there were something else you could use to take up space at the bottom of the planter that did not weigh so much. Enter plastic water bottles as a solution.
At the base of a planter, plastic bottles occupy space, thereby decreasing the amount of room available for filling with potting soil—often referred to as “granular gold.” Similar to using rocks, these bottles displace some of the soil and promote better draining capabilities—a crucial feature particularly important for container-grown plants. While both options prevent breaking down over extended periods due to their non-degradable nature, plastic bottles offer a significant advantage by being much lighter compared to stone equivalents.
Read more:
How Cultivating an Attractive Indoor Palm Plant Could Enhance Your Living Space
How To Use The Bottles Effectively
Sure! Here’s an alternative version:
To make this budget-friendly trick function seamlessly, just follow these steps: Primarily, although plastic water bottles serve as excellent options, consider using empty peanut butter jars, juice bottles, ketchup containers, or mustard bottles—really anything that can fill up some space to prevent you from taking another loan to cover additional costs for potting mix.
Secondly, retaining the caps or lids on your plastic bottles is beneficial if possible. Keeping the caps ensures that the bottles maintain their form and reduce the chance of collapsing. This helps displace more of what we call “potting soil.” But even without the caps, they’ll still perform adequately. Don’t worry too much about missing those parts; everything should still turn out fine.
Fill the flowerpot or planter about half full or a little less with the bottles. At this point, you have a choice: Many gardeners put in a layer of gravel, pumice, or less expensive dirt to pack around the bottles. This will hold the bottles in place, encourage drainage, and cost a bit less than the potting soil. Some folks use landscape fabric over their bottles for this task. You can also choose to fill the remaining space with costlier
potting soil
, bypassing the gravel idea altogether. Tamp the dirt down to encourage it to flow around the bottles.
Place whichever plants you intend inside your container, whether it be a flowerpot or another type of planter, and ensure they get plenty of water afterward. When watering, the earth might settle downward slightly as moisture fills spaces within the bottle structure. Should this happen, simply top up the planting area with additional potting mix until level again.
Want more design inspiration?
Join our free newsletter
To receive top-notch home and garden advice, clever design tricks, along with step-by-step DIY project ideas directly in your email.
Read the
original article on Hunker
.