My time working with Hypertufa spans several years. I refer to it as play due to the boundless creativity it offers. Over the years, I’ve crafted all sorts of items from
water features
To create Buddha-shaped planters using Hypertufa, start with this fantastic introductory project. Let’s go over the process step-by-step for crafting a hypertufa planter from nothing.
What is hypertufa?
Hypertufa is a simple do-it-yourself concrete blend created using Portland cement, which makes it lighter compared to conventional cement mixes. This material is robust and capable of enduring outdoor conditions. Its appearance can range from being sleekly polished to having a rugged, natural feel. The key to achieving your desired finish lies in selecting the appropriate mold. Additionally, for this substance to withstand subzero temperatures outside, the proportioning of ingredients must be precise. Similar to modeling clay, Hypertufa is versatile in shape and form, plus it’s budget-friendly. Below is an excellent starting point for understanding Portland cement and exploring what it has to offer.
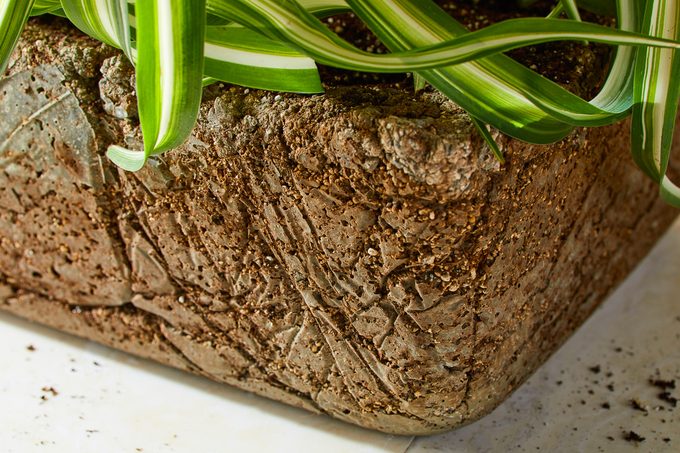
Select the hypertufa mold
The mold will dictate the ultimate finish and texture of your hypertufa planter once it’s cast within. To achieve a sleek, glossy surface, opt for a plastic container featuring a smooth, high-gloss interior. Should you prefer a more rugged, textured aesthetic as we did, use a lined plastic basin covered with a flexible plastic sheeting; let the natural creases from this lining be captured in the damp hypertufa mixture during casting.
Mix the hypertufa ingredients
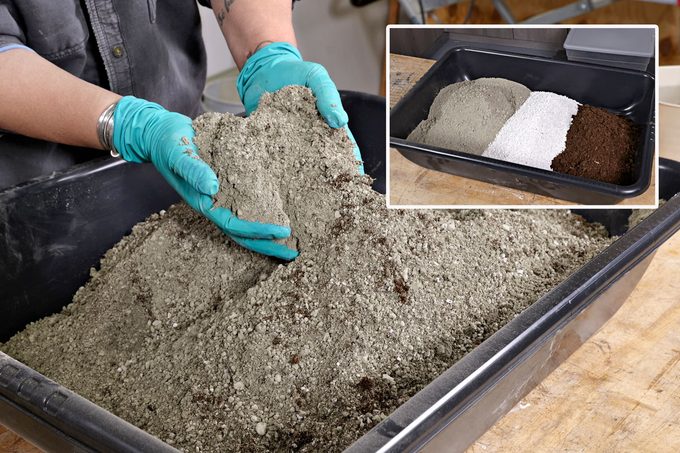
Combine the dry components: mix in two quarts of perlite, followed by another two quarts of peat moss, and finally two quarts of Portland cement. Since both the Portland cement and peat moss can form lumps which become hard to separate once water is added, start by pushing these materials through a 1/2-inch steel wire sieve to ensure they’re loose and free-flowing.
After sifting, to guarantee an even dispersion of components, combine the dry ingredients either manually or with a garden shovel to thoroughly mix them.
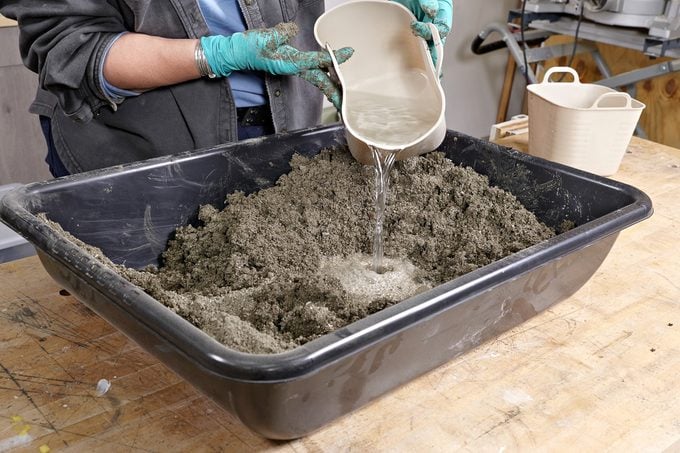
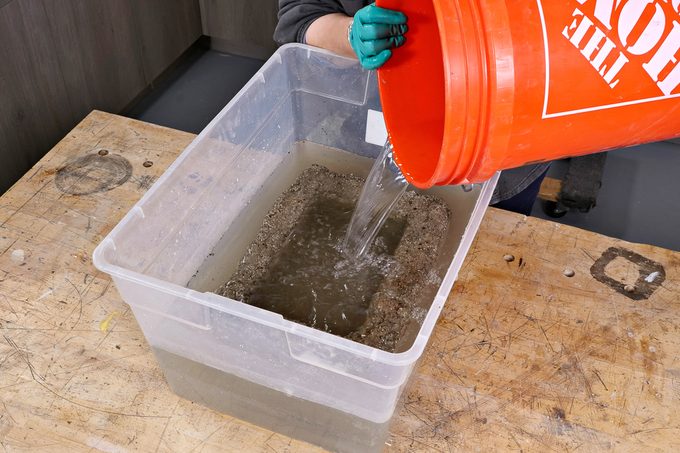
Slowly add water
Gradually incorporate water while stirring the ingredients completely. Ensure you do not saturate the mixture excessively. Aim for a texture similar to dense brownies. When you can form a lump from the blend that retains its structure, then you have incorporated an appropriate quantity of water.
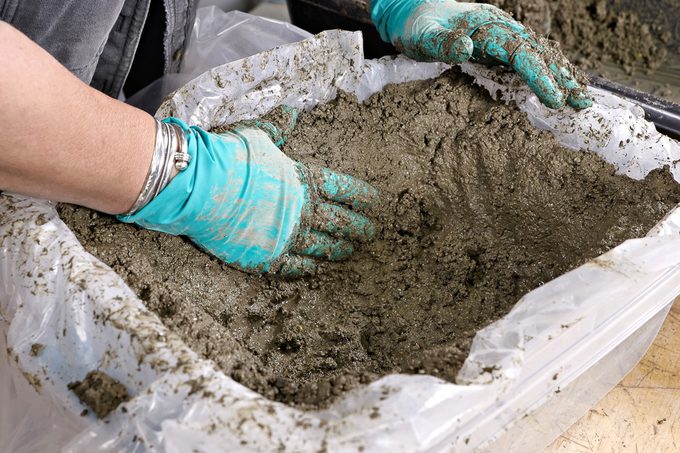
Move the Hypertufa mixture into the plastic tub.
Place a pair of plastic gloves on and move the hypertufa mixture into the plastic-coated container. Begin by forming a layer of at least one inch of hypertufa mixture at the bottom of the tub as the foundation, then continue constructing the sides to achieve walls that are at least an inch thick.
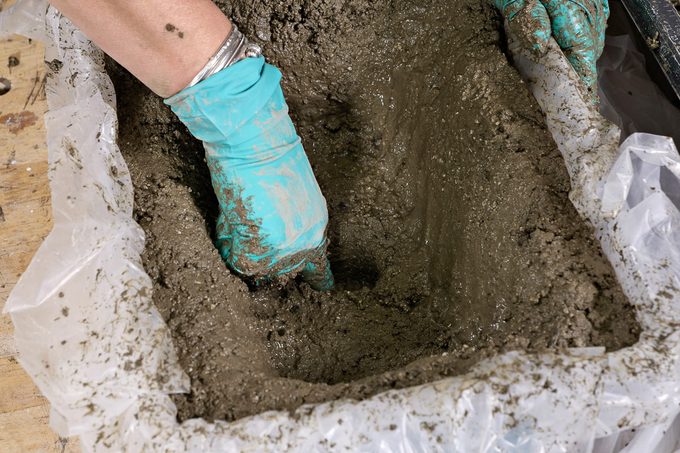
Clear out a drainage opening
Each planter requires a drain hole to guarantee adequate water flow and avoid root rot. Use either a wooden rod or your digit to form an approximately one-inch deep drain hole at the base of the container. If your planter is larger, consider positioning two such holes about six to nine inches apart from each other.
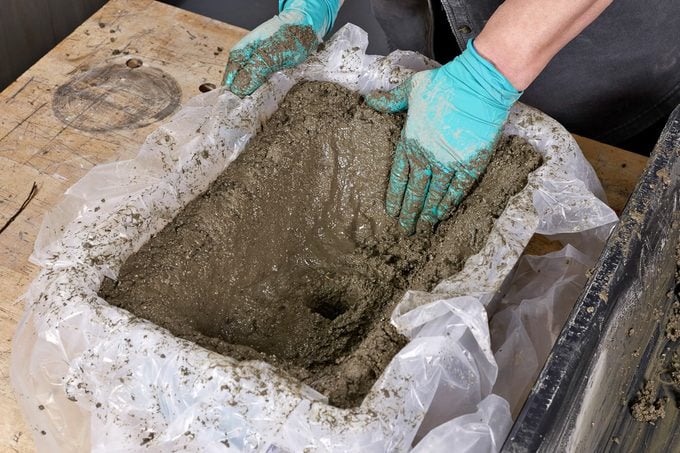
Finishing touches
This is your final chance to mold and shape the damp hypertufa mixture. The state it’s in right now will be permanent once it dries and cures. Make certain to even out the rim at the top of the container, ensure that the corners are sharp, and confirm that all four walls have roughly equal thickness.
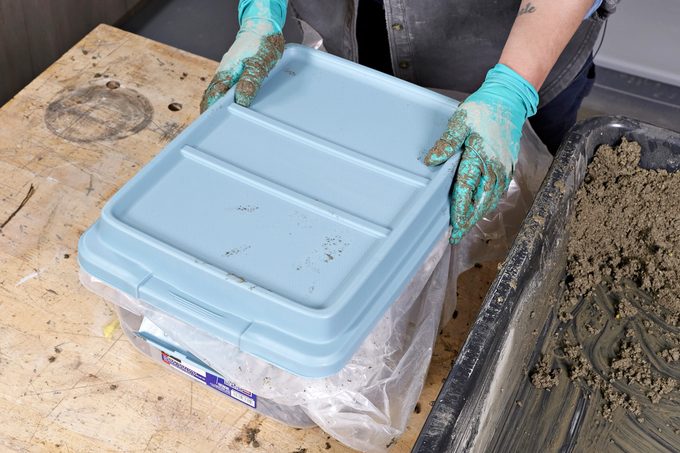
Cure for 24 hours
Wrap the plastic liner around the top edge of the hypertufa mixture and keep it inside the mold to set for one day. Should your plastic form have a cover, utilize it too. This covering with the plastic liner and/or lid helps retain moisture, thereby reducing the rate at which the material dries out. Slower drying aids in preventing fissures and strengthens the planter.
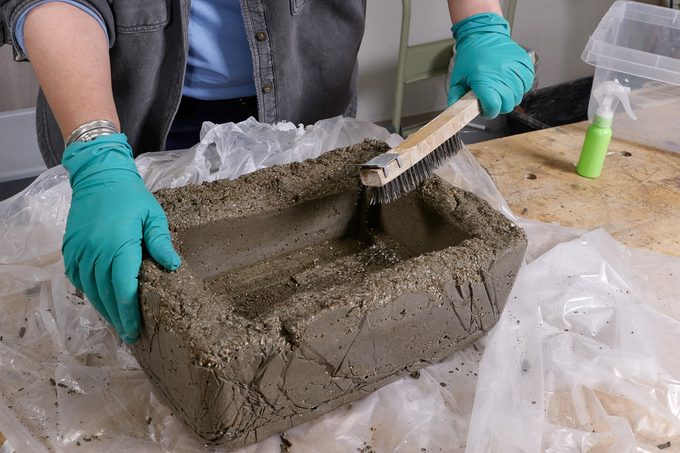
De-mold and clean up
Demolding becomes straightforward with our non-porous plastic container. However, should you opt for a porous material like wood later on, consider applying a lubricant such as vegetable or olive oil either by spraying or brushing it onto the mold surface.
When combining Portland cement with Perlite and
peat moss
You might notice tiny detached fragments of these materials on the exterior surface but not deeply ingrained. For removing stray pieces of debris, employ a wire brush to scrub them off. This process primarily concerns visual appeal rather than enhancing the sturdiness of the planter. It’s all about achieving your desired appearance.
Complete the drying process
After demolding, the planter won’t yet be completely dry. To ensure proper drying, wrap the entire structure in plastic for about five to seven days, spraying it lightly with water once daily. The piece is considered fully dried when its coloring appears uniform without any signs of dampness; wet areas may appear as irregularly shaped, darker gray patches within the Hypertufa material.
When drying, the drainage hole might get covered with a fine layer of cement. Clear it using a dowel or screwdriver prior to completing the drying stage.

Move to a tub filled with water
The final step is to make sure your planter isn’t still gripping the lime from the cement. Lime can interfere with your setup.
potting soil
And harm your plants. To let the lime seep away, immerse the whole planter in a container of water for seven days.
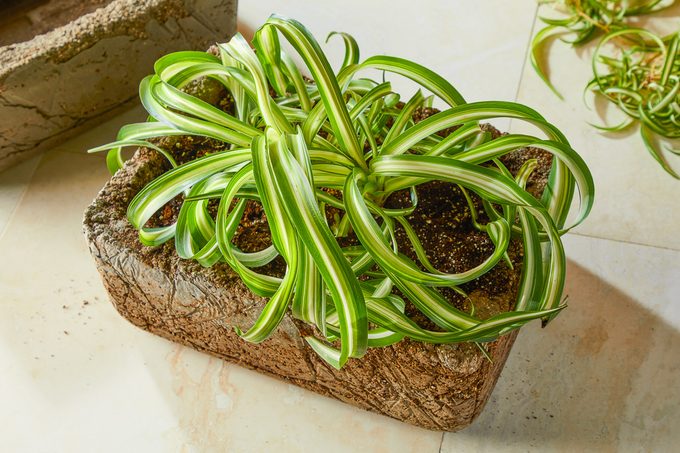
Remove planter from water, Rinse off and plant
To ensure any remnants of Lime have been removed from the planter, give it a good rinse before adding dirt and planting.
FAQ
How does cement differ from concrete?
Concrete is cement
Along with an admixture of sand and gravel for enhanced durability, the material solely consists of Portland cement powder. The combination transforms it into concrete.
Can you use Hypertufa for water features involving water?
Certainly, Hypertufa is commonly utilized for water elements and holds up well against moisture. Should your water feature encounter freezing conditions, incorporating sand into the mixture can aid in preventing cracks due to expansion from the cold.