Utilize the Door Rail as a Reference
The placement of knobs and handles isn’t set in stone, yet certain conventions should be followed. A useful guideline is to align the knob at the level of the upper edge of the lower horizontal frame piece of the door. For handle installations, position the bottom of the handle even with this same point. Make sure they’re always centered along the vertical side panel of the door.
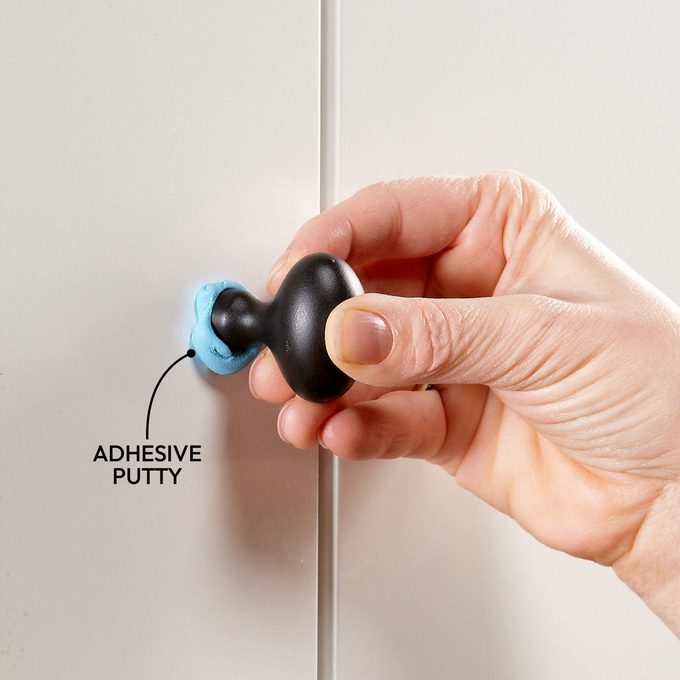
Temporarily Attach the Hardware
If you’re unsure about the placement for the knobs and pulls, attach a strip of tape as a guide.
reusable putty adhesive
To the hardware and test various positions. Choose your favorite spot and mark it with a pencil before installing the remaining hardware pieces as needed. You can find reusable adhesive at both hardware and art supply retailers.
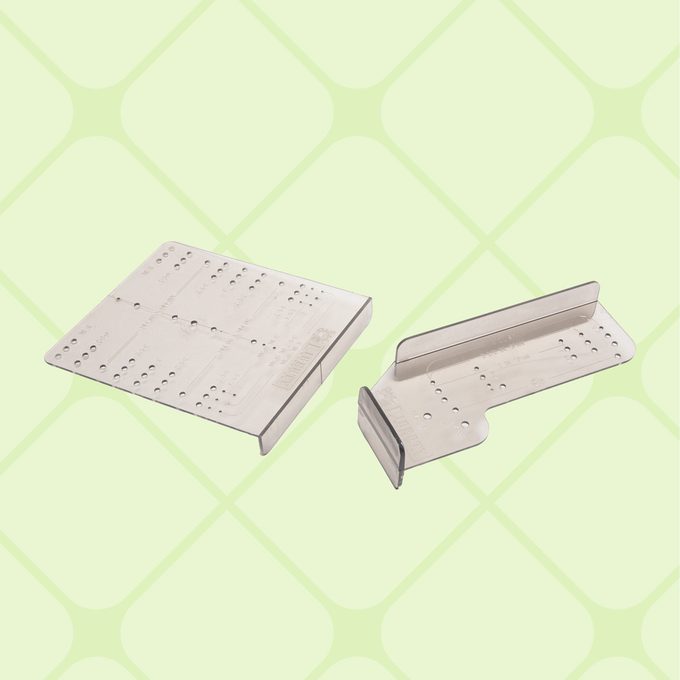
Templates Simplify the Task
When installing multiple knobs or pulls, consider using a template for efficiency.
cabinet hardware
A template speeds up the process, ensures consistency, and minimizes errors throughout the entire cabinet set.
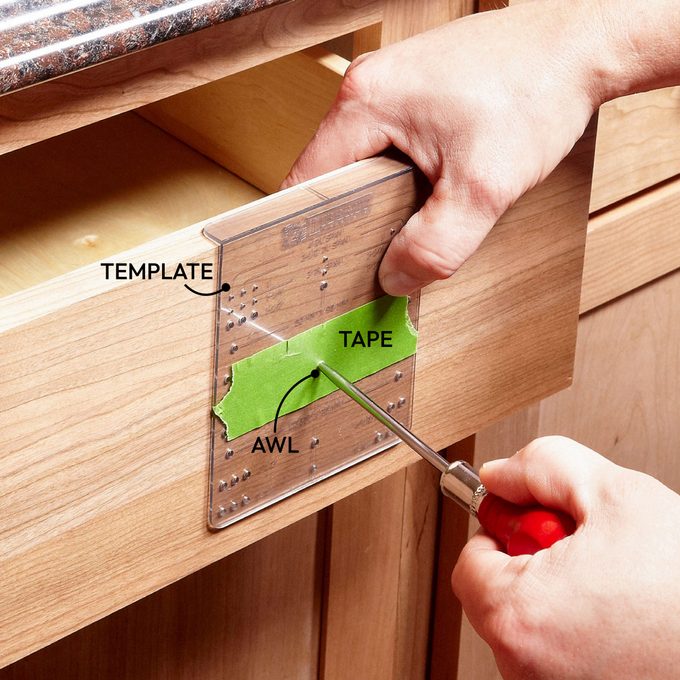
Cover Unnecessary Openings with Tape
Pre-fabricated stencils and frequently used hand-cut stencils come with numerous unnecessary perforations for each project. To prevent selecting the incorrect hole, refrain from using them.
masking tape
Go over the template and poke through just the necessary holes. Rather than marking the spot for the hole with a pencil on the cabinet, use an awl instead. This prevents the drill bit from straying when you start drilling.
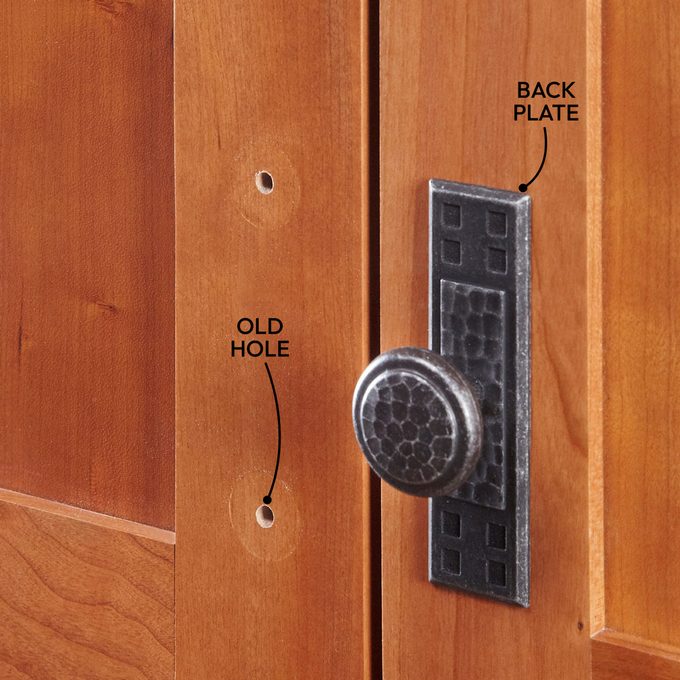
Cover Old Holes Using Back Plates
When transitioning from a pull to a knob or opting for pulls with a distinct hole configuration for your cabinetry, you can conceal previous screw holes or mask any damaged areas using back plates. Since local home improvement stores may not offer many options, think about purchasing from an online retailer where you’ll discover a wide variety of choices available.
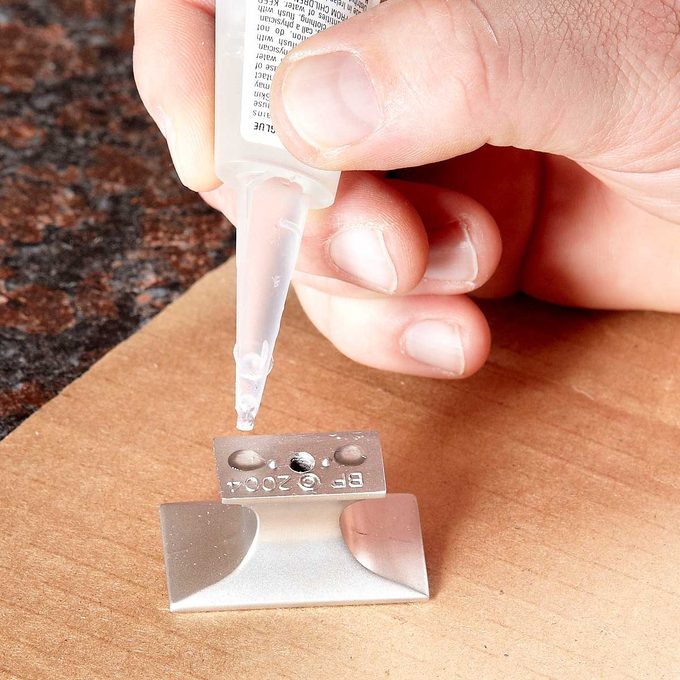
Superglue the Knob
Elliptical and rectangular handles that secure using one screw tend to rotate over time. Although thread sealant can prevent the screw from becoming loose within the handle, it doesn’t always stop the handle from turning. To address this issue, consider adding
drop of superglue
To the rear of these kinds of knobs prior to installation.
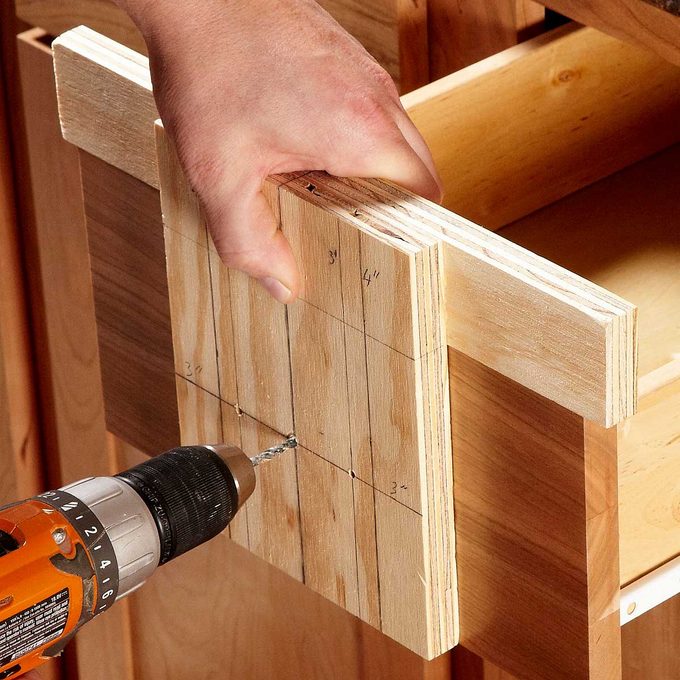
Create a BasicDrawer Blueprint
If you lack a template, create one yourself. A basic template comprises two boards and requires just a short time to assemble. You can use this identical template for nearly all door dimensions as well as various hardware sizes.
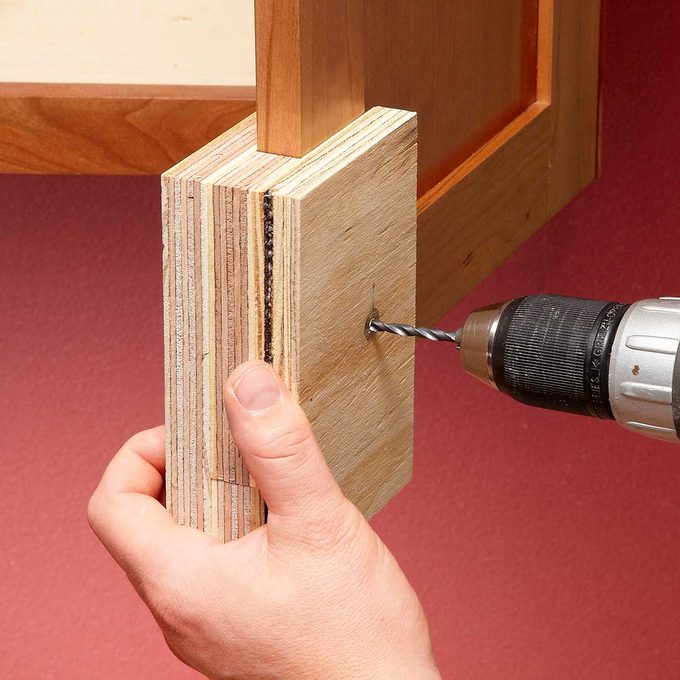
Two-Sided Templates Prevent Tear-Out
If you’re encountering issues with the wood at the rear of your cabinet doors splitting whenever you drill holes, create a double-faced template. Ensure that the spacing material is nearly identical in size to the cabinet doors. A snugger fit will decrease the likelihood of splintering.
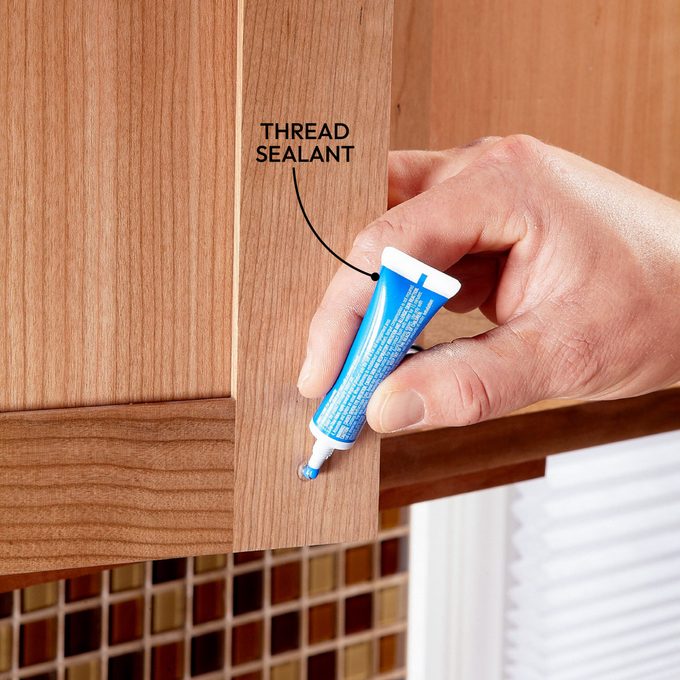
Apply Pipe Thread Sealant to Maintain Screw Tightness
Each time the screw in a knob becomes loose, cabinet owners will likely have negative thoughts about the person who installed them. Prevent this issue by applying a small amount of thread sealant to each screw before installation.
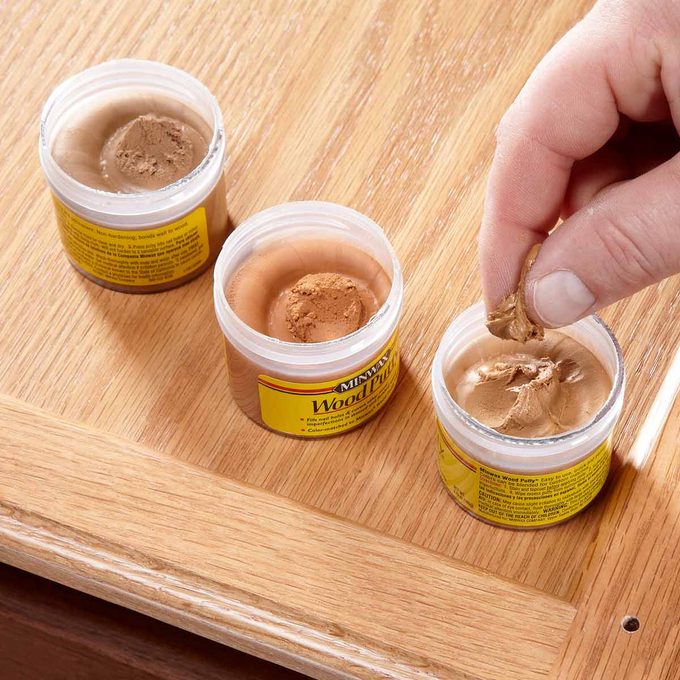
Mix Putty to Match
If the back plates do not conceal the previous screw holes, apply putty to fill those areas. Typically, the wood grains on cabinet doors and faces exhibit varying shades, so remove one door and visit a hardware store or home improvement outlet to select three distinct putties. Choose one that corresponds with the deepest hue, another matching the palest shade, and a third option somewhere in-between. Employ these three varieties to create your own customized blend for filling the gaps.
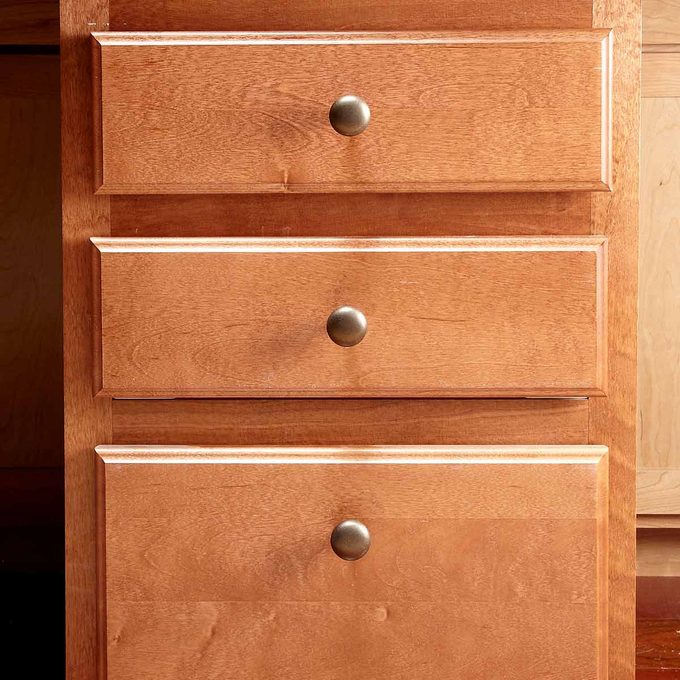
Mount the Hardware Above on the BottommostDrawer
Typically, drawer pulls are placed in the middle of the drawer fronts. However, when dealing with cabinets that feature multiple equally sized drawers along with a single larger drawer below them, mount the bottom knob (or pull) above the center point of this lower drawer front instead. Ensure that all knobs across the cabinet maintain consistent spacing for an aesthetically appealing look. Such positioning not only enhances visual appeal but also reduces strain from having to reach too low to open the lowest drawer.
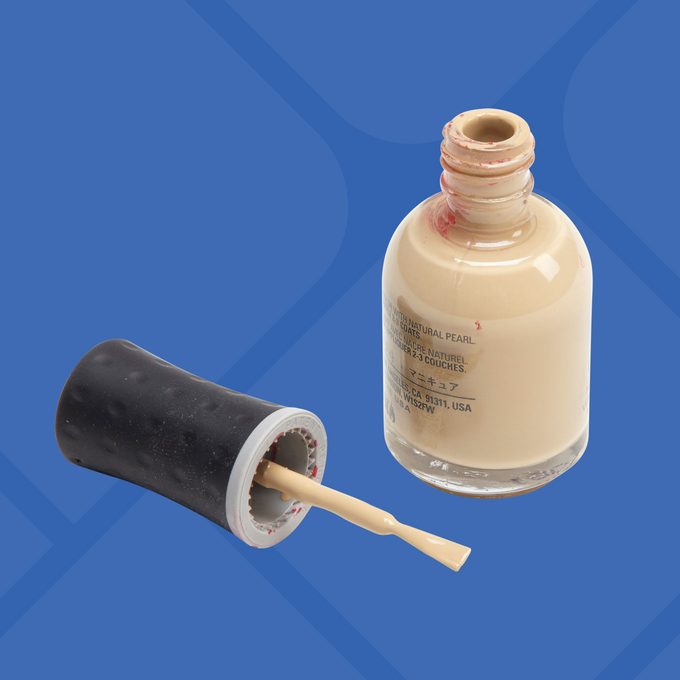
Perfect Finish Touch-Ups
Once you’ve completed the installation of the cabinet knobs, keep a little portion of the paint or finish utilized on the cabinets in a separate container for potential touch-ups later on. Should the cabinet manufacturer not have provided one, create your own by thoroughly cleansing an empty nail polish bottle using nail polish remover and then pouring your chosen paint or finish into it.
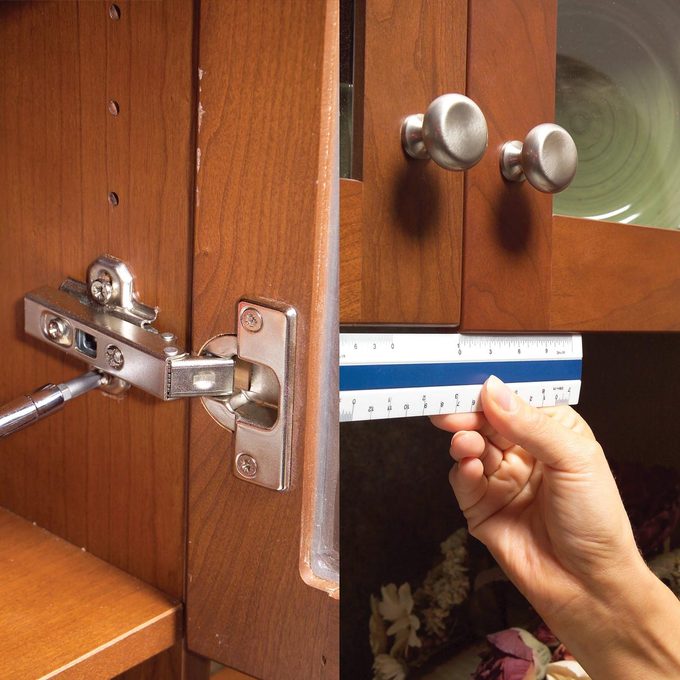
Modify Hinges on Mismatched Doors
If your
cabinet doors
If things aren’t aligned properly and you’re dealing with European-style hinges, consider yourself fortunate. These euro hinges facilitate simple tweaking. Do not be intimidated by their intricate appearance; simply turning some screws will suffice, and any errors can easily be fixed. As demonstrated with this particular Euro hinge, they allow adjustment in three dimensions. Some models only permit adjustment in two ways. Regardless, the procedure involves testing different settings: Make an adjustment, shut the door to assess how well it fits, then repeat as necessary until everything lines up correctly.
Initially, if the door doesn’t align properly with adjacent ones, tweak the depth screw. This adjustment allows you to shift the door inward or outward. For some models, turning this screw directly affects the position of the door. However, in many cases, you must first unscrew it, make the necessary lateral movement to the door, and then secure it again. Should your hinges lack depth screws, begin instead with the side screws.
Secondly, if the door appears misaligned—not running parallel to neighboring doors or perpendicular to the cabinet—tweak the side screw. This adjustment allows for lateral movement of the door. Occasionally, you may need to partially loosen the depth screw to properly position the side screw.
Thirdly, if the door aligns properly with others but sits too high or low, you can adjust its height using the mounting screws. First, loosen the screws at each hinge, then move the door upward or downward as needed before securing them again. In some cases, the mounting plates can be adjusted simply by rotating one screw.