Account for Wood Movement
Certainly, wood is generally quite durable overall, yet it remains particularly sensitive to changes in temperature and humidity from the external surroundings. This characteristic, referred to as
wood movement
This can lead to shrinkage and swelling along the grain. High humidity causes wood to absorb moisture and expand, whereas lower humidity makes it contract.
The change happens slowly, yet it can lead to significant issues in your woodworking endeavors; thus, you must factor it into your projects. Various methods are available for this purpose, with certain techniques varying based on the specific project and its final location. The key strategy for managing wood movement involves allowing the material to settle and adapt to your workshop conditions first. This adjustment period may differ according to factors like the dimensions and depth of the timber as well as whether it has undergone kiln drying.
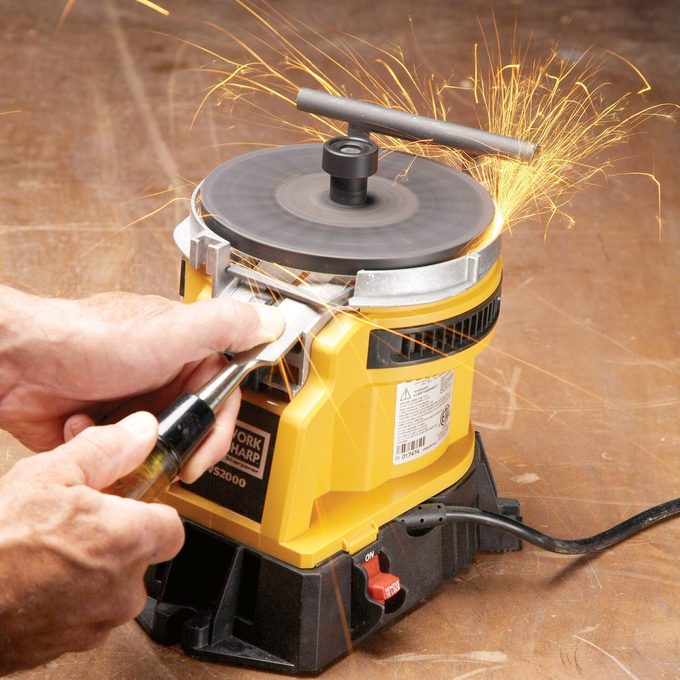
Learn to Sharpen Tools
You could possess the finest tools imaginable — but without proper use, they amount to nothing.
sharpen them
Often, they’re ineffective. Various tools necessitate distinct approaches for their sharpening.
Learning
how to sharpen chisels
It serves as an excellent starting point for novice woodworkers.
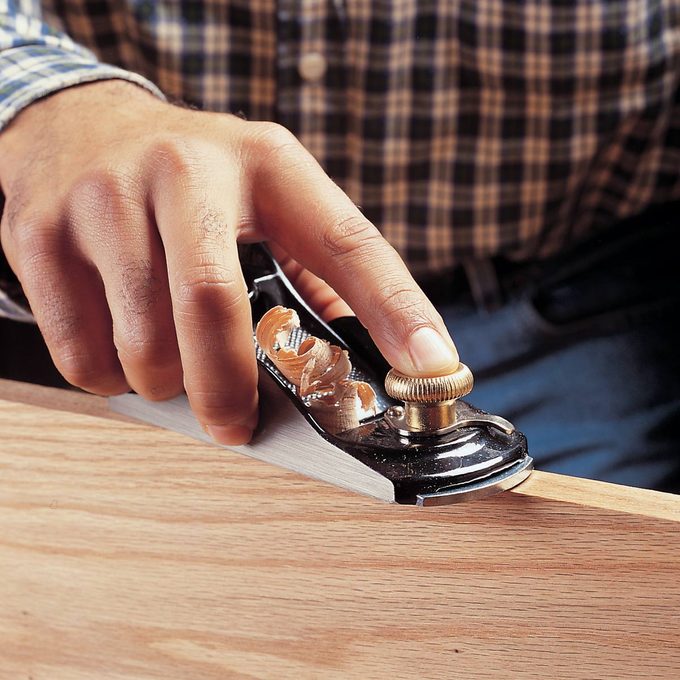
How to Operate a Hand Plane
A
hand plane
It’s an excellent resource for both big and small woodworking tasks, and it’s certainly a technique you should have mastered in your shop class.
For a brief recap: maintain a gentle tilt of the plane relative to the wood surface and always try to plane in line with the wood grain. Contrarily, planing across the grain can make the blade catch, leading to tearing or chipping of the wood.
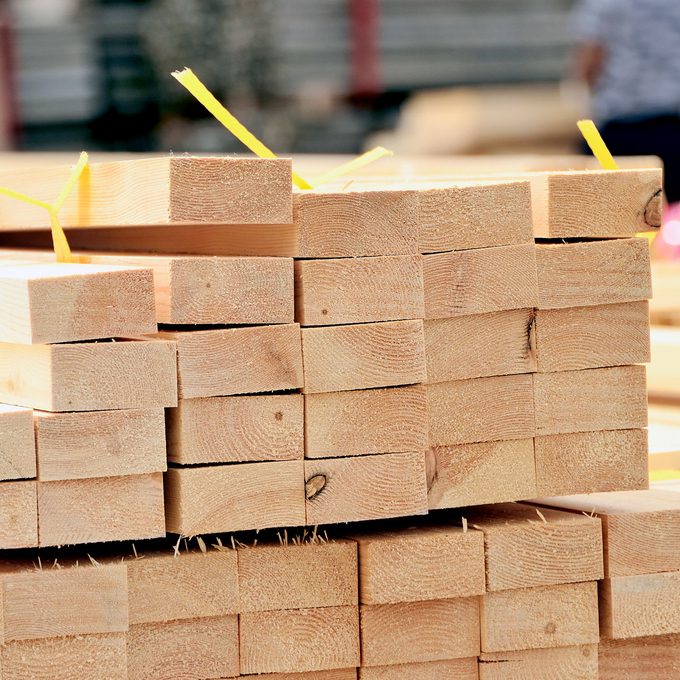
Understand Nominal Dimensions
For numerous people, discovering that a 2×4 plank measures only 1.5 inches by 3.5 inches came as quite a shock. This discrepancy exists because the wood undergoes planning to remove imperfections. In earlier times, these boards truly measured 2 inches by 4 inches; however, their uneven surfaces posed challenges when storing and managing them. Consequently, even though they’re now smaller, phrases like “2×4” or “4×4” persist and refer to what’s called the “nominal” dimensions of the lumber.
Nominal dimensions continue to be favored primarily due to their ease of use and adherence to convention. Today, many large retail outlets provide both the nominal dimension and the precise measurements for wood materials. Below is a concise reference to assist you in keeping these distinctions clear:
standard versus real wood board dimensions
.
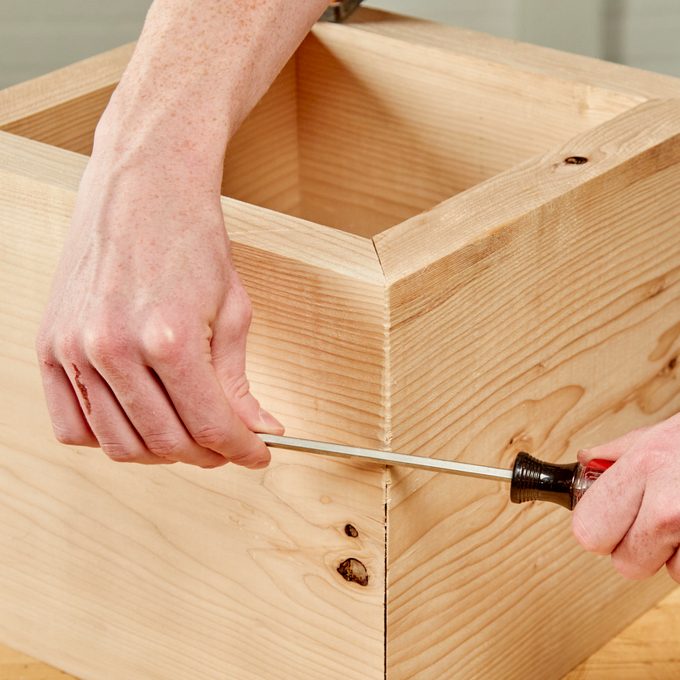
Fix Miter Joints
In shop class, numerous people acquire the gratifying ability of
trimming a mitre joint so that it fits together flawlessly
And ensures a precise 90-degree angle. Should your mitering abilities use some sharpening, try this easy method for addressing an unevenly joined miter: run the shaft of a screwdriver along the miter line from both angles. Most likely, only you will notice that it wasn’t flawless initially.

Easy Nail Pilot Holes
Often when you’re nailing
small finishing nails
into moldings or other projects, the nail will split the wood unless you drill a pilot hole first. However, tiny drill bits have a habit of breaking after just a couple of uses.
Instead of using a drill bit, create an accurately sized pilot hole by utilizing the nail directly. For larger nails, remove their heads with lineman’s pliers; for smaller ones, use wire cutters. Insert the headless nail into your drill, and proceed to bore the hole using this improvised method. Afterward, hammer in another nail. Presto!
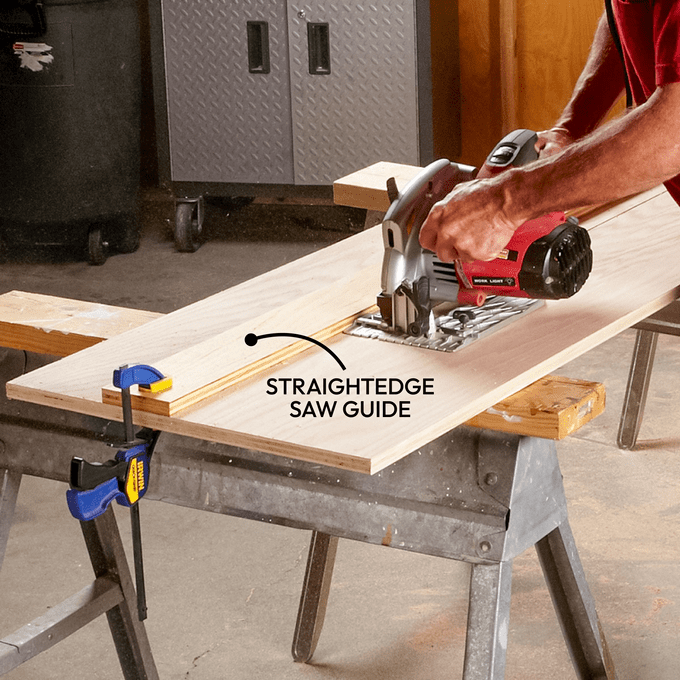
Make Table Saw-Quality Rips With a Circular Saw
Even if you own a table saw, sometimes it’s easier to
rip large sheets of plywood with a circular saw.
To achieve a flawless straight cut, secure a straightedge onto the plywood and utilize it as a guiding tool for your saw. Typically, the gap between the edge of a circular saw’s baseplate and its blade measures around 1-1/2 inches; thus, aligning the straightedge exactly 1-1/2 inches away from where you intend to make the cut should suffice. However, always double-check this measurement with your specific saw model to confirm accuracy.
You have the option to purchase a straightedge or utilize the natural edge of a plywood sheet. Ensure you clearly mark it if your straightedge is single-edged to prevent using the uneven side.
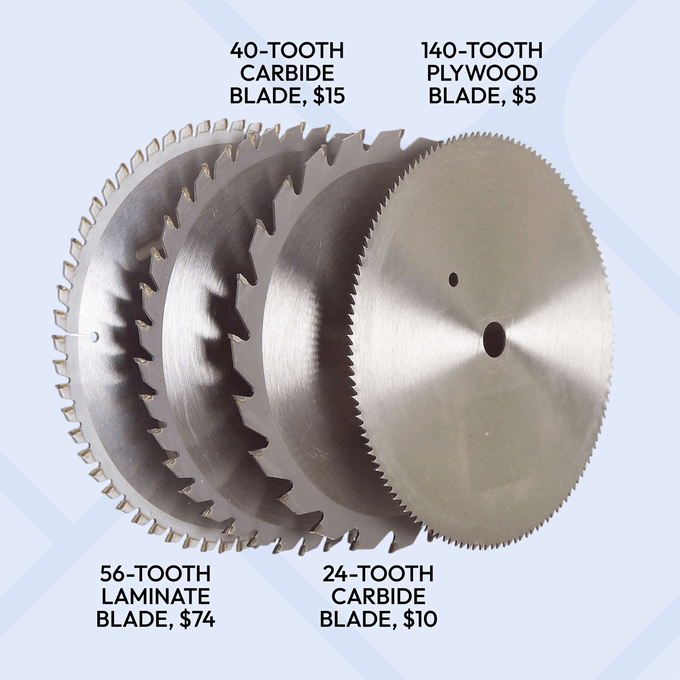
Select the Appropriate Circular Saw Blade
As long as they’re sharp, any of these four 7.25-inch ones will do.
circular saw blades
Will produce clean rips in plywood and decent crosscuts. Generally speaking, the higher the number of teeth, the cleaner the cut. One downside of using the 140-tooth plywood blade is that its teeth tend to become blunt quicker compared to those on the three-carbide blades. This becomes even more noticeable when cutting through particleboard. A versatile option would be the 40-tooth carbide blade. Yet, should your project require numerous intricate cuts in high-quality plywood, consider investing in a specialized 56-tooth laminate-cutting blade without hesitation.
How to Glue Wood
Sticking wood together is a fundamental skill in woodworking that you likely picked up in shop class; however, becoming proficient at it might require some extra effort. Take a look at our
advice for gluing two pieces of wood together
so you don’t get stuck with a mess.

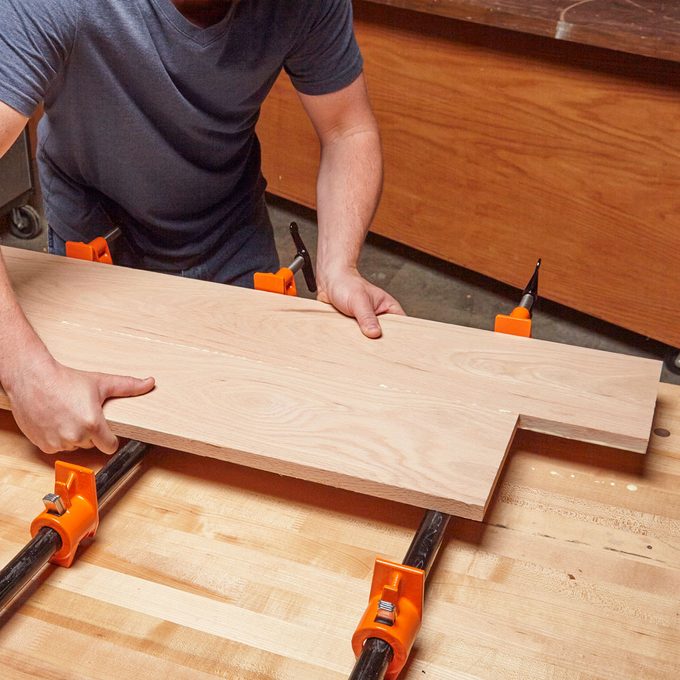
How to Clamp
Sticking properly goes together with securing pieces tightly using clamps; thus, your workshop course ought to have covered both techniques. However, for the best results when sticking items, make sure to also review additional advice on proper glue application.
here are some suggestions for clamping effortlessly.